When Art and I travel we take a first aid kit for those little minor things that inevitably happen while we’re on the go. Let’s face it, if you travel often enough or long enough, you will get sick or injured. It could be a cold, a case of traveler’s diarrhea, a splinter or a blister. I promise, sooner or later something minor is going to occur, so be prepared.
We put a lot of time and effort into planning our travels. Then we spend so much time deciding what clothes to take and how to pack everything. I find I often forget about the things I frequently use at home. Adhesive bandages, ibuprofen, or tweezers. This is the stuff you find you miss the most if you don’t bring them on your trip, even if you don’t need them often. That’s why I always take my first aid kit.
Pre-made or DIY?
If you want, you can purchase a premade travel first aid kit. I did a quick check on-line and it looks as though most of them are geared toward adventure travel. Adventure travel is a bit beyond my comfort zone. And those kits contain a lot of things that I probably wouldn’t use. I put together our own first aid kit based on our personal needs. I’m happy to share with you what Art and I take with us when we travel. This will give you some ideas for what to put in your own DIY travel first aid kit.
My DIY First Aid Kit
A Container
First of all, I started with a standard sized toiletry bag, about 10 inches long, 5 inches wide, and 5 inches deep. We have found this to be the perfect size, as we can put our first aid items in it along with our medications. Depending on your needs, you may want a smaller larger bag for your items.
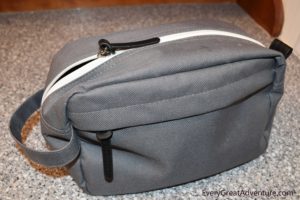
This is what we use to carry our first aid kit and our prescription medications.
Just a note: We normally take a couple of extra day’s prescription medications with us when we travel outside the US. After this COVID-19 outbreak, we will take an extra two-week supply, just to be safe.
No Need to Bring Everything
Since we don’t typically travel to remote locations, we don’t have to take a large number of items that can be purchased over the counter. There are usually pharmacies in the location we go and we simply purchase additional supplies as needed. This is especially true when we travel in the US. That said, if you are a stickler about only using one particular brand, you should bring enough to last the entire trip, as you might not be able to find it when traveling, particularly when outside the US. When determining how much of an item to bring, think about your destination, and how long you will be out of range of a pharmacy.
DISCLAIMER: Before you put your first aid kit together, please check with your physician. S/he may have specific recommendations for over the counter medications. There may be things in our first aid kit that would be inappropriate for you based on a specific medical condition or medications you are currently taking. Conversely, there may be other items or medications that your physician would want you to have with you in case of an emergency.
15 Items in My Travel First Aid Kit
Here are the items that I always stock in our DIY travel first aid kit:
- Antihistamine. I usually take diphenhydramine (Benadryl is a brand name), for two reasons. One, it works well for just about any mild allergic reaction from bug bites to pollen. And two, it makes you drowsy, so it’s great for helping you get to sleep when your time clock is off a bit.
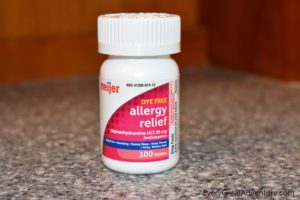
My antihistamine of choice.
- Hydrocortisone (1%) cream. This is a must have for bug bites or other skin irritations. Bugs love to bite me, so I usually carry a large tube of this.
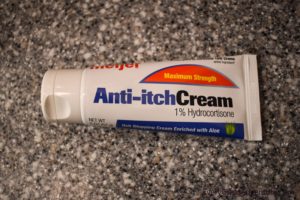
I never travel with out this!
- Antidiarrheal. Pepto Bismol is our brand of choice. I prefer the chewable tablets when we travel, they are easy to carry and use.
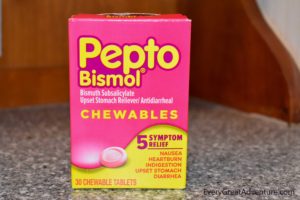
Chewable tablets are convenient.
- Mild laxative. Travel can really get our bodies out of sync. If it’s not diarrhea, it seems like it’s constipation. This is a case of being prepared for anything.
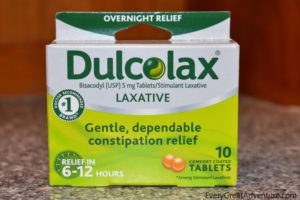
Be prepared for anything!
- Motion sickness medication. If you know you are prone to motion sickness, you know you can’t travel without it. If it’s not a problem for you, you don’t need to pack it. Art found that Bonine works best for him without making him drowsy. Plus, it’s a chewable, so he doesn’t need to have water to take it.
- Antibiotic cream or ointment. The triple antibiotic covers a wide spectrum of bacteria, so it’s my choice.
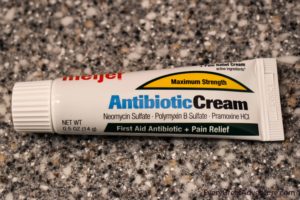
I find some generic versions work just as well as the brand names.
- Moleskin. Take it with you, even if you have never had a blister in your life, there’s a first time for everything. You don’t need a blister or a rubbed spot to cause your feet to hurt. If your feet hurt, you’re miserable, end of story.
- Adhesive bandages. This is one item that I am particular about brand. It’s Curad or Band Aid brands for me. I have yet to find a generic that stays on well. (As you can see from my photos, I’m all about using generic brands if the quality is there.)
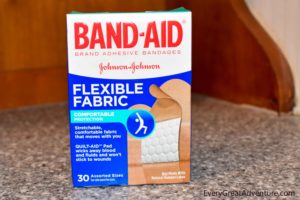
I prefer brand names for my adhesive bandages.
- Elastic bandage. Twist an ankle or knee and you will regret not having one of these bandages with you. I admit, we don’t use it often, but when we do, we are so glad we have it. I prefer the kind with Velcro on the end, so you don’t have to mess with those little metal clip thingies. There are even some now that are self-stick, but I don’t know how reusable they would be.
- One large bandage. You never know when you will get a cut, and since Art is on blood thinners, he tends to bleed, a lot. This large bandage is very absorbent and, if one of us gets a big cut, it will cover it until we can seek proper medical care. Don’t forget to take some sort of tape for the bandage as well.
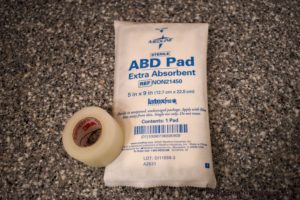
I always include a large bandage and tape, just in case.
- Antiseptic and alcohol wipes. These are always good to have on hand. If you get a cut and you are not near clean water and soap, antiseptic wipes are a must. You can always use a small alcohol wipe for things like cleaning the area before you try to pull out a splinter.
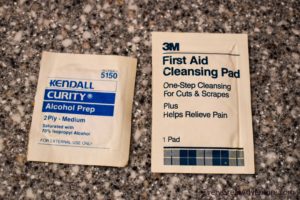
Individually wrapped alcohol wipes and antiseptic wipes pack easily.
- Analgesic. I always carry both acetaminophen and ibuprofen. Naproxen and aspirin are other options. These are helpful to have for headaches, body aches, and fever. The NSAIDS (ibuprofen, naproxen, and aspirin) also help to reduce swelling.
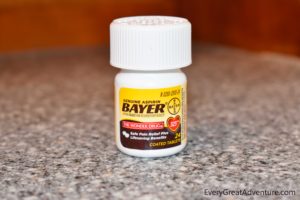
Travel sizes are perfect to use in your DIY first aid kit!
- Thermometer. It’s not a bad idea to have a thermometer of some sort, either digital or a disposable paper thermometer that you can put on your forehead.
- Cold Medication or Decongestant. Most cold medications include decongestants. There are several different decongestants, and you need to be careful with which kind you choose. I have found that those with pseudoephedrine work best for me, but Art can’t take it because he has hypertension and A Fib. Again, ask your physician what kind is best for you before you choose a decongestant.
- Extra little doodads. A small pair of scissors, tweezers and a few (preferably sterile) cotton tipped swabs.
When Size Does Matter
Keep in mind that if you are taking your travel first aid kit through a TSA security check point at an airport, the containers of creams or ointments should be no larger than the maximum allowable size.
Keep Your First Aid Kit Up to Date
If you already have a travel first aid kit, don’t forget to check the expiration dates of the items before heading off on your next great adventure!
I do reuse the small travel size pill containers. (Why create unneeded waste?) Once the items in the bottles expire, throw away the items, and black out the date on the bottle. I refill the bottles with fresh items just before leaving on my next trip and discard the unused items when I return home.
A Few Extra Items
Of course, it goes without saying that you should take a few preventative items with you such as hand sanitizer, sunscreen, and bug repellant. Now that I think about it, a couple of face masks wouldn’t be a bad idea either! You probably don’t need to put these items in your first aid kit, but, do make sure you have them.
Immunizations
No matter where you travel, make sure you are up to date with all your immunizations, including flu and tetanus shots. Don’t take it for granted that you don’t need them. The CDC website is chock full of information. Head to this page where you can enter the country to which you are traveling and get specific healthy travel suggestions including health and warnings and recommended immunizations.
If you’re traveling to multiple countries or for a longer period of time, it’s a good idea to go to a travel medicine clinic to make sure you have any needed prophylactic medications. They may also be able to provide you with any needed immunizations.
Now You’re Prepared
So, there you have it. That’s what we take with us when we travel. I hope you will never use even one item in your travel first aid kit. If you do, you can pat yourself on the back for being prepared!
Are there any other items that you add to your travel first aid kit that I don’t take? Scroll down to the comment section below and share your thoughts; I’d love to hear from you.